

Your Voyager can be a keyboard and a mouse
A modular trackpad or trackball that snaps on magnetically
Straightforward yet flexible
Add mouse control to your Voyager, effortlessly. It’s easy to customize: Choose which side the Navigator module goes on (leftie-friendly!) and how exactly it works, using Oryx, our graphical configurator.
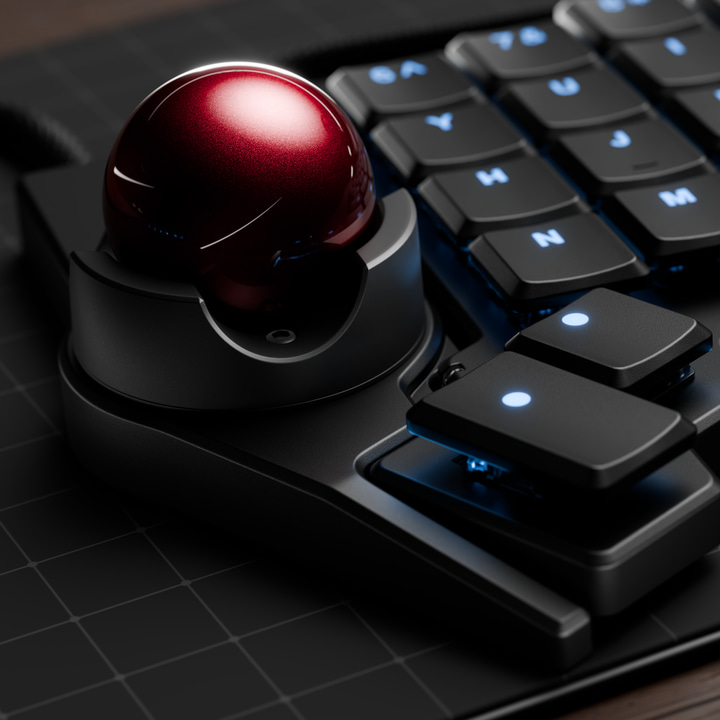
When mounted on your Voyager, the Navigator looks like it was made for it — because it was.
At the same time, the Navigator can also be used with the Moonlander and with recent ErgoDox EZ boards, thanks to our matching 3D-printable shells.
Keep your hands on
the keyboard
Stay focused and reduce repetitive arm movement by having your mouse integrated with your keyboard; no more fumbling for a separate mouse. The keyboard handles mouse clicks and scrolling exactly how you tell it to. Set it up for comfort, with the mouse buttons in the home row, right under your fingers.

Already got your Navigator?
The Core
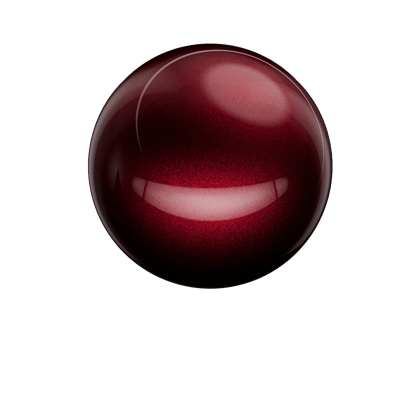
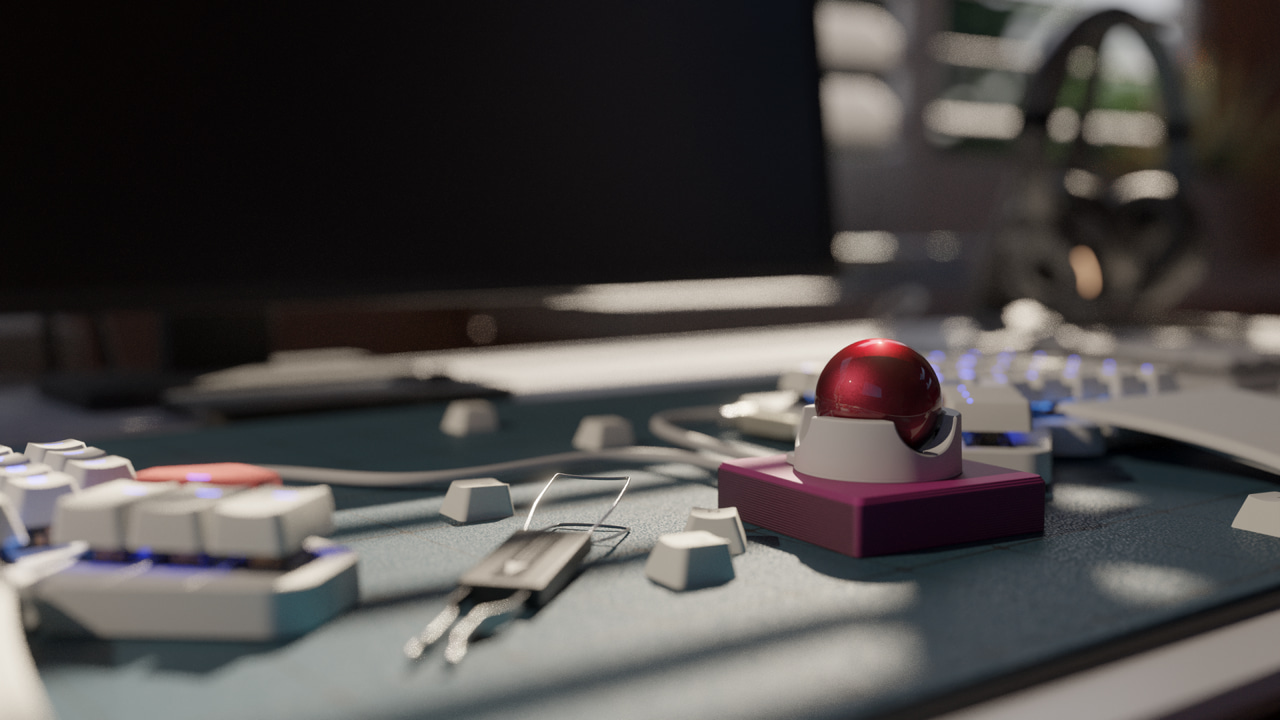
Mouse control modules that connect to your Voyager, Moonlander, and many other QMK powered keyboards.
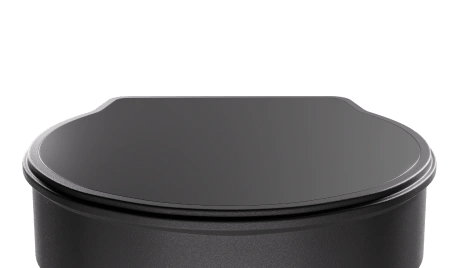






For daily productivity
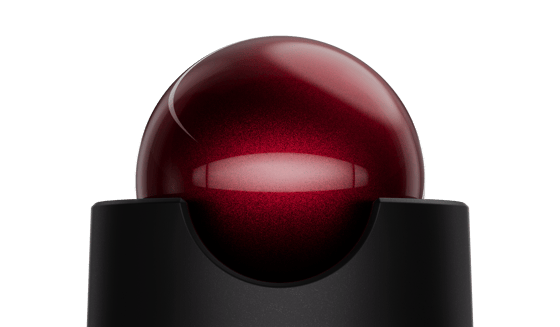
The Navigator is a fully-featured, but compact, mouse attachment.
If you are a gamer, illustrator, or 3D designer, you may want to keep a dedicated mouse around for precise spatial work.
If much of what you do is web browsing, email, spreadsheets, coding, and other text-heavy work, the Navigator can become your one and only pointing device.
The Shell
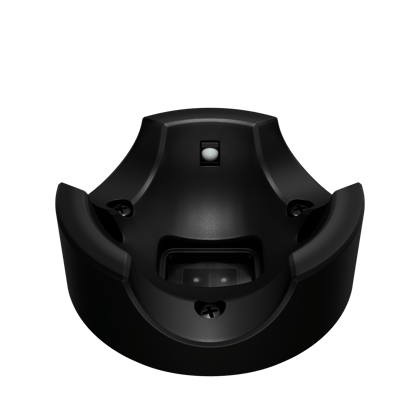
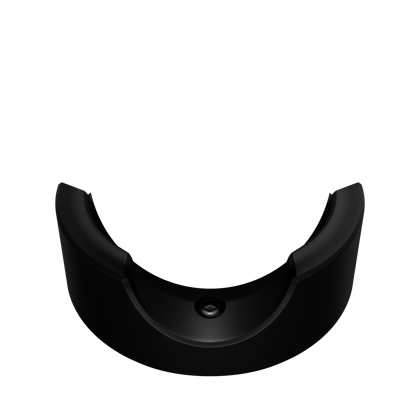
The holding shell for the Trackball or Trackpad. Get the official shell, or print your own.
Injection molded ABS
Perfectly matches your Voyager’s color and surface finish.
Built-in cable management
Thoughtfully designed space to tuck away your cables.
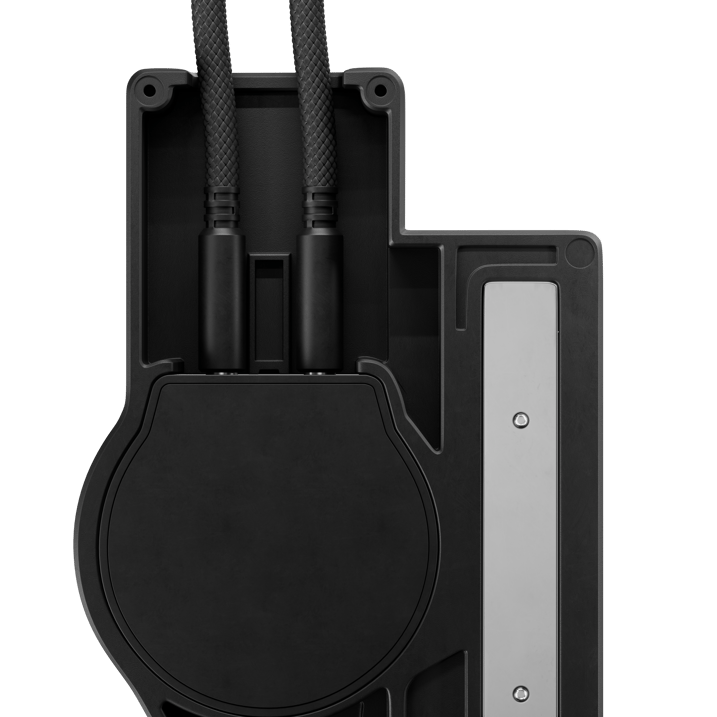
Left or right side (or both)
There are too many pointing devices on the market that are available only for right-handed users. We know that only a fraction of our users will go for the left-handed version, but it was still important for us to invest in it. We ❤ you, lefties!
You can even use both a Trackball and a Trackpad on opposite sides at the same time. Not sure which side to pick for each one? No problem. Because the Navigator system is modular, you can freely swap the cores to either side’s shell.
Attaches magnetically
Even when the Voyager is hovering.
The Shell uses custom-made rare-earth magnets to ensure it stays in place even at extreme angles and while hovering in the air.
The Voyager’s orientation pins make sure the shell snaps in just right, every time.
The Shell is compatible with both the Trackball and the Trackpad. You can change between them at any time.
Make your own
The Navigator is compatible with any QMK keyboard that supports I2C. We spent a lot of time and work making it, but it’s not just for ZSA boards. Download the design specs bundle below and use it to create your own shell for any keyboard. Feel free to share it with us.
For the Moonlander and ErgoDox EZ (ST), you can configure the Navigator in Oryx, but there won’t be an official ABS-molded shell for the Moonlander or ErgoDox EZ. For this, see our DIY 3D-printed shells below.
Send us your creations!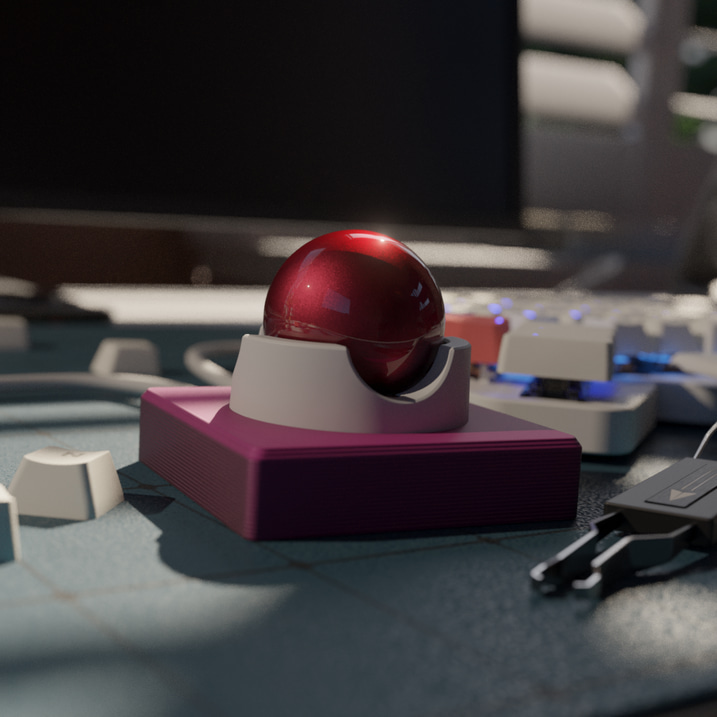
Try the printable thumb shell
If you prefer a thumb Trackball, this official ZSA printable lets you move the Navigator to your thumb while giving your board some built-in tenting. It includes a “passive” part for the side without the Trackball, so both halves of the board have the same tenting angle.
It’s easy to install a magnet onto the print, but you can also use it as-is.
Print your ownCustomize it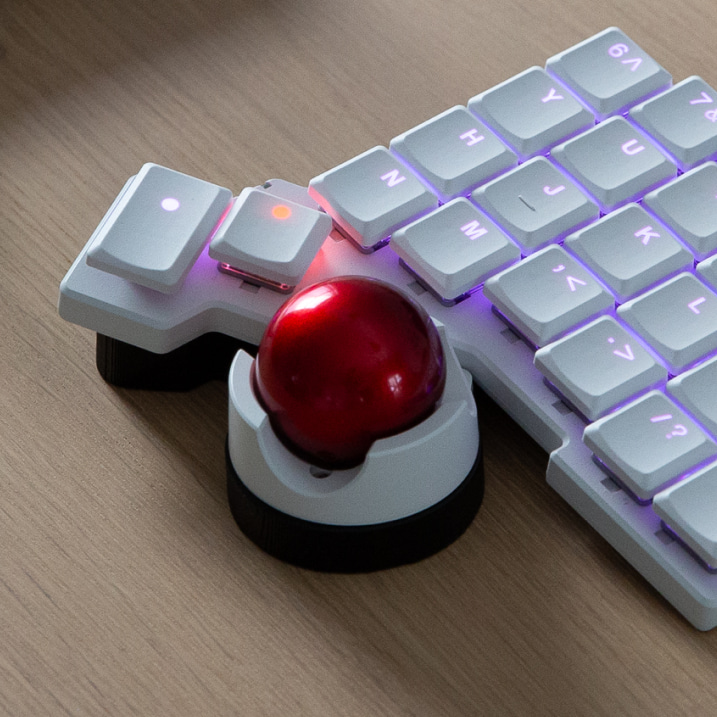
Attach the Navigator to your Moonlander
The Navigator is fully compatible with the Moonlander using a core and 3D-printed shell. ZSA offers official printable shells for mounting the Navigator at your thumb, the side of the board, or sandwiched between the Moonlander and the Platform for extra tenting.
Moonlander ShellsCustomize your shell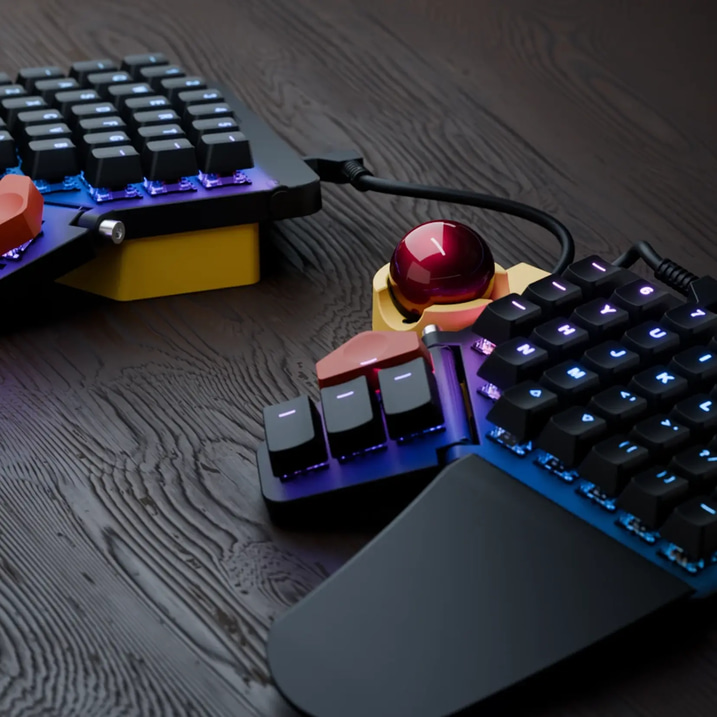
Design files
This design bundle contains STLs for the Trackball core, as well as both sides of the shell, making it easy to print your own shells. It also contains fully editable Parasolid x_b files for the shell which you can use to make any shell shape you’d like. Yay for moddable hardware!
The Firmware
What is it like to use?
Easy to start
Setting up the Navigator in Oryx takes
exactly three clicks.
Easy to customize
Choose where your mouse buttons go. When setting up a Navigator Trackball, a mouse layer is automatically created for you. But just like everything else, this is customizable. Simply move your mouse keys to wherever suits you.
The Navigator Trackpad supports two-finger gestures out of the box and is controlled by your operating system settings, so its setup in Oryx only takes seconds. Just add the Trackpad and go. If you decide you want a mouse layer, you can always add one later.
Auto-Mouse Layer
You can set things up so that a Mouse Control layer activates as soon as you move the cursor. When using the Trackball, this puts mouse buttons right under your fingers, exactly where you need them. When using the Trackpad, you can use a Mouse layer or two-finger gestures. Magic!
FAQs

For any QMK keyboard
To create the Navigator we had to develop an entirely new pointing device driver in QMK — and of course, we are contributing this driver back to QMK in full for anyone to modify and use for any purpose.
See itNavigator specifications
- In the box
- Core (trackball or trackpad), Shell, carrying case and cables, when ordered with a shell